GAME RESULTGame Result
Sec. 10 2016/6/15 (Wed)
Attendance 15,358
Weather: Cloudy, No precipitation Temperature: 24.7 degrees Humidity: 70%
Referee: Ryuji SATO Assistant Referees: Toru SAGARA / Hiroshi YAMAUCHI Fourth Official: Toshimitsu YOSHIDA
J1 1st Sec. 10
Ajinomoto
HOME
FC Tokyo
1-1
Match Ended
First Half0-0
Second Half1-1
AWAY
Sanfrecce Hiroshima
| FC Tokyo | Sanfrecce Hiroshima | |
|---|---|---|
|
69' Kento HASHIMOTO |
Scorer |
66' Takuma Asano |
|
57' Keigo HIGASHI → Hiroki KAWANO 64' Muriqui → Nathan BURNS 80' Naotake HANYU → Kota MIZUNUMA |
Player Substitution |
46' Takumi MIYAYOSHI → Takuma ASANO 80' Taku SHIMIZU → Soya TAKAHASHI |
| 13 | Shoot | 10 |
| 6 | CK | 4 |
| 8 | FK | 4 |
|
66' Hiroki KAWANO |
Warning |
81' Kazuya MIYAHARA |
| Ejection |
| GK | 47 | Yota AKIMOTO |
| DF | 37 | Kento HASHIMOTO |
| DF | 3 | Masato MORISHIGE |
| DF | 5 | Yuichi MARUYAMA |
| DF | 25 | Ryoya OGAWA |
| MF | 4 | Hideto TAKAHASHI |
| MF | 7 | Takuji YONEMOTO |
| MF | 38 | Keigo HIGASHI |
| MF | 22 | Naotake HANYU |
| FW | 11 | Muriqui |
| FW | 20 | Ryoichi MAEDA |
| GK | 31 | Kentaro KAKOI |
| DF | 29 | Kazunori YOSHIMOTO |
| MF | 14 | Ha DAESUNG |
| MF | 17 | Hiroki KAWANO |
| MF | 48 | Kota MIZUNUMA |
| FW | 9 | Sota HIRAYAMA |
| FW | 16 | Nathan BURNS |
| GK | 1 | Takuto HAYASHI |
| DF | 33 | Tsukasa SHIOTANI |
| DF | 5 | Kazuhiko CHIBA |
| DF | 37 | Kazuya MIYAHARA |
| MF | 18 | Yoshifumi KASHIWA |
| MF | 6 | Toshihiro AOYAMA |
| MF | 8 | Kazuyuki Morisaki |
| MF | 16 | Kohei Shimizu |
| MF | 31 | Takumi MIYAYOSHI |
| MF | 30 | Akira Shibasaki |
| FW | 9 | Peter UTAKA |
| GK | 13 | Takuya MASUDA |
| MF | 28 | Takuya Marutani |
| MF | 27 | Kim Bom-yeong |
| MF | 34 | Soya Takahashi |
| FW | 10 | Takuma Asano |
| FW | 22 | Yusuke MINAGAWA |
| FW | 11 | Sato Toshito |
Photo Gallery
-
 The Tokyo Chamber of Commerce and Industry Day "Working TOKYO DOROMPA Plush Toy"
 -
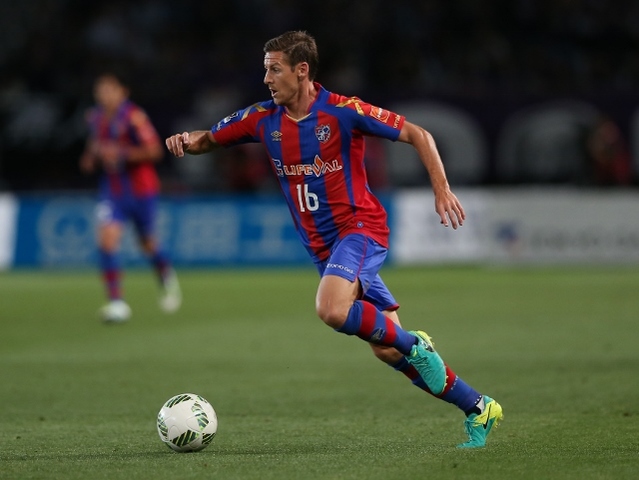
 Player Maeda shaking off the opponent
 -
 Dribbling at speed by Nathan BURNS
 -
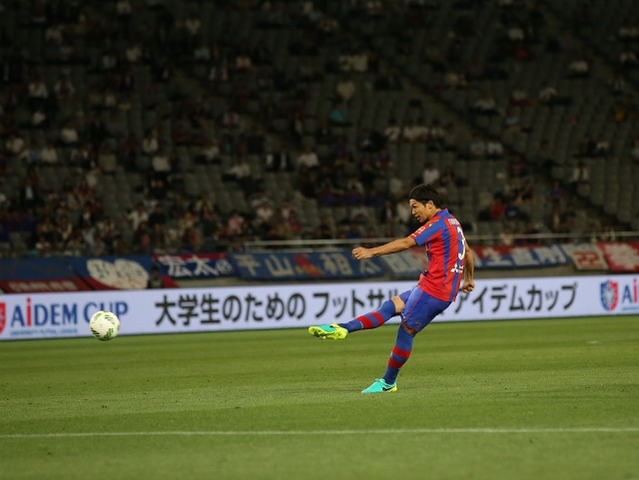 Player Morishige aims for a goal from a free kick
 -
 Player Ogawa crosses to the center
 -
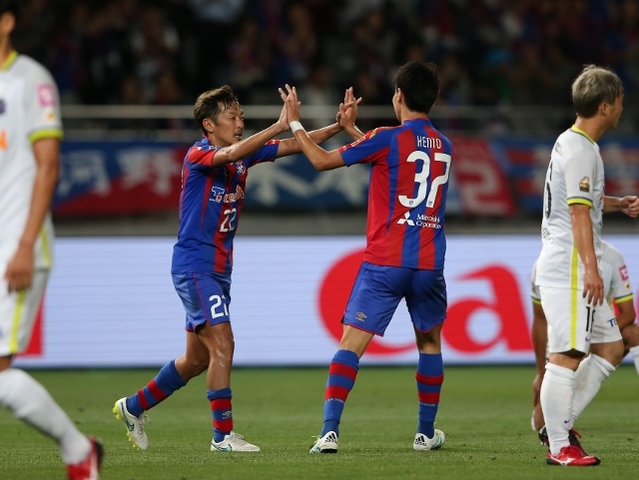 Post-goal scene of player Hashimoto
 -
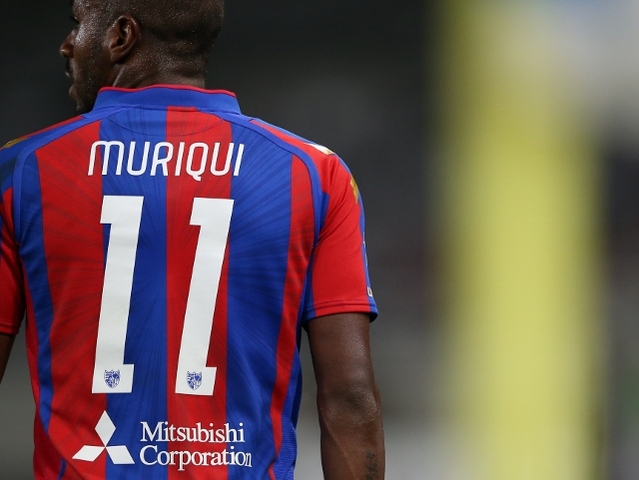 First start at Ajinomoto, Muriqui
 -
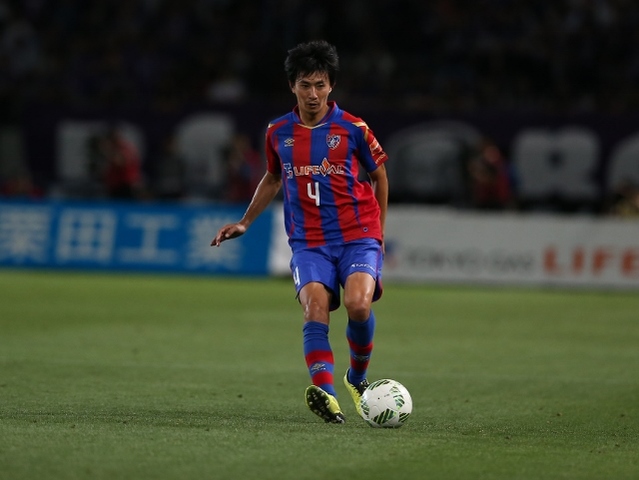 Takahashi passes from the bottom of the midfield
 -
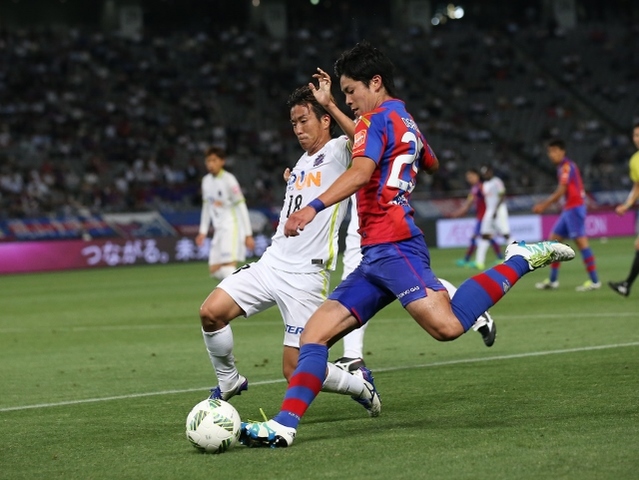
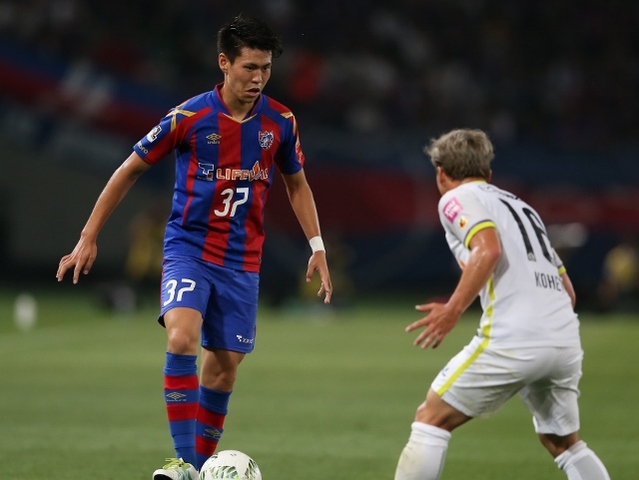 Player Hashimoto attacking with dribbling
 -
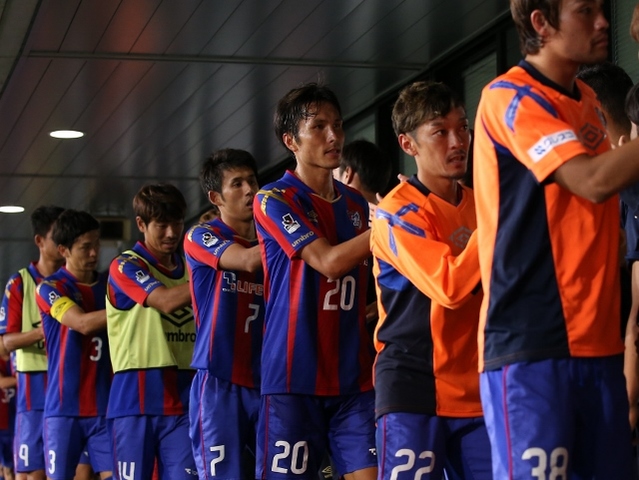 Post-match high five
[Player and Coach Comments]
Entering the final stage of the 1st stage, facing the unplayed Sec. 10
Sec. 10, which had been postponed due to the impact of the ACL, will be held. We will face Sanfrecce Hiroshima at home.
The previous match ended in a scoreless draw, but Tokyo has gone four consecutive matches without conceding a goal. To secure three points, they will need to maintain their solid defense while also finding the back of the net.
In this match, Muriqui will make his first start in J1, partnering with Maeda in a two-top formation. Additionally, due to Tokunaga's absence, Ogawa will be starting at left back for the first time since the match against Tosu on May 13. In midfield, Takahashi and Yonemoto will form a double pivot. Higashi will play on the right side and Hanyu on the left. Considering Hiroshima's distinctive style of play with a 3-6-1 system, we will approach the game with a 4-4-2 formation.
Hiroshima will be without DF Mizumoto, and 20-year-old DF Miyahara will be used in one of the three back positions. Centered around FW Peter UTAKA, who is currently at the top of the scoring rankings, Hiroshima boasts strong attacking power, including substitute FW Asano.
In contrast, this is a match where we aim for victory at home by demonstrating both aggression and perseverance.
The rain during the day had stopped, but the humidity was high, and under the weather that still felt muggy before the start, the match kicked off at 19:03 in Tokyo.
No gaps together, careful game management
2 minutes: Both teams start cautiously. Muriqui's through pass from the left side allows Maeda to break behind the opponent's defense and advance deep into the left area, but the Hiroshima defense quickly regains its shape and manages to defend with numbers.
6 minutes: Hiroshima FW Peter UTAKA received a vertical pass, and Yonemoto and Takahashi applied pressure to win the ball. Higashi passed to Maeda, who spread the play to the left. Hanyu circled to the center, received a return pass from Maeda, and aimed for the goal, but Hiroshima DF Chiba blocked it. For the loose ball, this time Yonemoto circled from the left and took a shot, but it was also thwarted in the area. As a result, there were only these two shots on target in the first half. After that, they contained Hiroshima's passes to the front line with coordinated defense, not allowing the opponent any freedom. Tokyo maintained possession of the ball and spent more time advancing in the opponent's territory. However, despite trying to utilize Muriki's breakthrough ability and Maeda's hold-up play, they could not create any decisive chances as time passed.
28 minutes: Opponent DF's pass is cut by Maeda on the right front line. Higashi sends it to the center, and they connect closely in front of the goal, but Muriqui on the slightly left is thoroughly marked by the Hiroshima DF. Furthermore, Hanyu in the center tries to aim for the goal but is pressured by the opponent and the ball spills to the left. This again goes to Muriqui, who takes a shot from the area but goes well over the bar.
On the other hand, Hiroshima also had a header from FW Peter UTAKA from a corner kick in the 15th minute, and in the 38th minute, MF Miyakoshi contested a right cross, leading to a direct shot from MF Shibasaki just outside the area. Throughout the first half, there were only these two shots. Both teams showed no gaps or defensive weaknesses, ending the first half scoreless.
Together, we took the challenge in the second half, and Hashimoto scored the equalizer.
The flow changed completely in the second half. Hiroshima brought in FW Asano. Both showed an aggressive attitude and went for the win in the second half.
47 minutes: Maruyama from the DF line sent a ground pass vertically, and Hanyu received it and turned around. He faced forward and made a through pass to Muriqui, who ran to the left front line. Although they couldn't finish, shortly after, Muriqui carried the ball into the area and earned a corner kick.
49 minutes: From Ogawa's corner kick, Maeda heads the ball but fails to score. Following that, Muriqui is fouled, earning a free kick just outside the area, slightly to the right. Moriwaki aims for this and strikes hard at the Hiroshima GK.
57 minutes: Kono was brought in to replace Azuma. However, after the 60th minute, they faced a series of attacks from Hiroshima's speedy offense. MF Kashiwa and FW Asano broke through, and they were continuously targeted by FW Peter UTAKA and MF Shibasaki for goals.
62 minutes: From Hiroshima's right corner kick, MF Morisaki made a decisive header at the near post, but Akimoto saved it with one foot! Immediately after, DF Chiba's shot from distance was also saved by Akimoto, who handled the situation well.
64 minutes: Nathan BURNS comes in for Muriqui.
66 minutes: Hiroshima connects quickly, and MF Shibasaki heads the ball to the left forward. FW Peter UTAKA cuts back on Hashimoto in the left area and breaks through to the sideline. From here, a pass to the center is met by FW Asano at the near post... allowing the first goal, 0-1.
69 minutes: The right corner kick was cleared, but the second ball was picked up by Kono on the right, who passed to Maruyama in the center, and Takahashi on the left sent a long cross to the right area. Kono received it and delivered a low cross through the gap between the opposing defenders into the area. Here, Hashimoto, who had remained up front, managed to stretch his right foot and scored a goal despite losing his balance. This makes it 1-1.
Immediately equalizing, both teams aimed for the lead in the closing stages, resulting in a counterattack exchange. It was an open game, with chances for both sides, but neither could capitalize. The match ended without further scoring. Although they conceded the first goal, they managed to equalize and secured 1 point. This marked their second consecutive draw.
[Player Comments]
《Hashimoto》
"We were able to create scoring opportunities and had chances to win. It was a frustrating match. Although the system changed, I believe all the players were able to showcase their strengths. Personally, I think I could have prevented the situation where we conceded a goal. Since my play allowed the opponent to score first, I wanted to somehow make up for it. As a team, I believe we showed a determination to not give up and to move forward. I want to continue working hard to improve on the issues that arose today for the next match."
《Muriqui》
"It was my first time starting at Ajinomoto, and first of all, I am happy to have played at home. I felt the presence of the fans and supporters close by. We couldn't win. Next time, I want to work hard to win and bring joy to everyone. I want to create more chances next time and I have a strong desire to score goals. However, that cannot be done alone. I also need to level up more and want to show better collaboration with my teammates. I want to work hard together with everyone to win."
【Summary of Coach Hiroshi JOFUKU's Press Conference】
"We made some changes to the lineup, but we were able to show our attacking play from a solid defense without any gaps. That's why we wanted to secure the three points, and we had that opportunity. There were also some dangerous moments, but it's disappointing that we couldn't achieve victory at home."
(Regarding Hiroshima's tactics)
We continue to slide sideways, apply pressure on the ball, and maintain a high line, regardless of the opponent. We are adding information about the opponent's key players and their types. We want to play as far forward as possible, so we are conscious of the contrast between when to drop the line and when to keep it high.
【Hiroshima's Hajime MORIYASU's press conference summary】
"I expected the first half to be a tight match. Tokyo has a solid defense, and their individual quality and physicality are strong, so I thought it wouldn't be an easy game. In the first half, it would have been better if we could create more chances while moving the opponent around, but it was quite difficult while they were still fresh. However, the players remained patient and continued to look for opportunities. We got caught by Tokyo's counterattacks a few times, but I believe that our ability to endure those moments led to the opening goal in the second half. Both teams had many chances in the second half, but our defense and goalkeeper Lins prevented the crisis. I want to take this positively, as we were able to pick up one point away."